
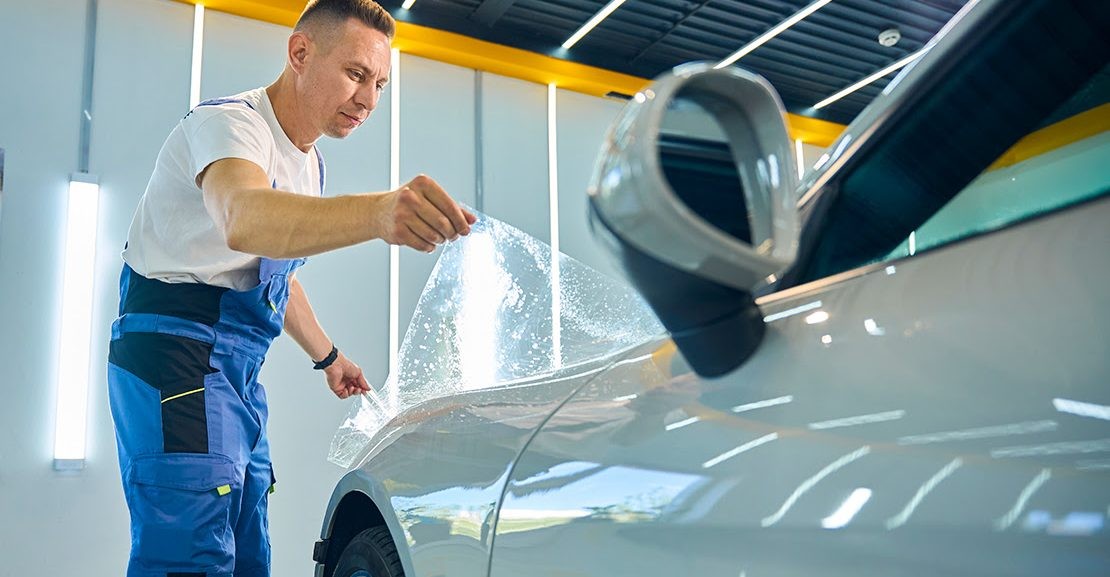
So, you just bought a new car, and you love it. You want to make sure it's protected from rock chips, scratches, and other damage right away. One of your biggest concerns is how long you'll be without it while it's getting the protection it deserves.
To answer the question, it can take anywhere from a few hours to several days. Partial coverage might only take a few hours, while a full wrap can take several days.
There are a few different factors that can influence the timeline. These include how much of the car is covered, the shape of the body with curves and sharp lines, the preparation and condition of the paint, and whether or not pre-cut templates are used or if the film is hand-cut.
You might be wondering why so many people underestimate the amount of time and effort that goes into a quality paint protection film installation. After all, it's just a film, right?
Well, consider that removing badges, lights, and trim to wrap the edges of the film can take quite a bit of time. And many shops will keep your car overnight just to inspect the edges of the film to make sure it's installed properly. Plus, you don't want to wash your car for about 48-72 hours to let the film cure properly.
How Long Each Coverage Package Will Take
These timeframes are all for standard coverage packages on a typical car, and include prep time for washing, decontamination, clay, and panel wipe-down.
- Partial Front: 4 to 8 hours. A partial front covers the front bumper, a partial hood (typically the first 18 to 24 inches from the front), mirror caps, and often the leading edges of the front fenders. Headlights may or may not be covered, or may be an add-on. A partial front is often something that can be done in a single day, bringing your car in and picking it up by the end of the day.
- Full Front: 1 to 2 days. A full front covers the whole hood, the entire fenders, the bumper, and the mirrors. It typically covers the headlights as well, and often includes the A-pillars and the leading edge of the roof. Full front packages take longer because they cover full panels, which means wrapping edges and more time trimming the film.
- Full Wrap: 3 to 5 days, sometimes longer. A full wrap covers every painted panel on the outside of the car, so it includes doors, quarters, roof, trunk, rear bumper, rockers, and more. This means more hardware removal as well, such as badges, trim, and even door handles sometimes. Door jambs are often optional. But if they're done, that takes more time as well.
How do you pick which coverage is right for you? If you do most of your driving in the city, with only a little highway driving, a partial front is often sufficient. If you do a lot of daily highway driving, a full front can help protect against rock chips.
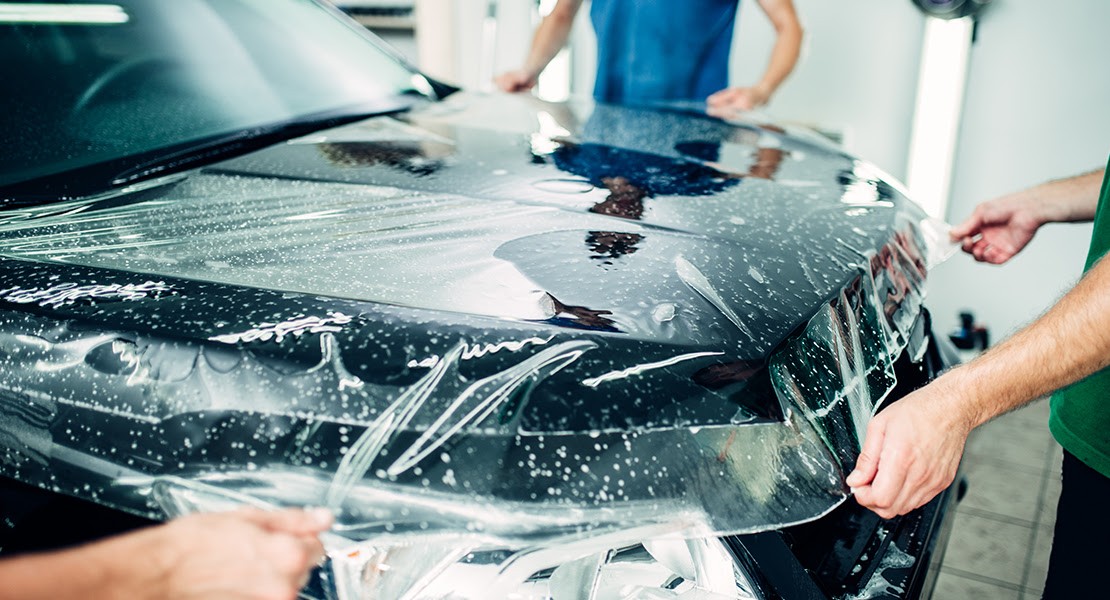
For rougher or more demanding driving, here's how coverage scales up:
- Gravel or rural roads: a full front plus rocker panels
- Track days: a full front, rockers, and rear quarters behind the wheels
- Collector cars, exotics, or cars you plan to keep for a long time: a full wrap
Partial front coverage is the cheapest option and the quickest visit to the shop, and it protects the areas most likely to be impacted by debris that causes rock chips. However, it leaves a visible line where the film ends, and the paint begins on the hood and fenders, which can gather dirt and become visible over time. It also leaves a lot of other areas, including most of the hood, the fenders, the area from the mirrors to the doors, and the lower sides of the vehicle exposed.
Full wrap coverage is the most uniform coverage, with no visible lines on the panels. But it is also the most expensive and time-consuming option. Most shops will also allow you to upgrade to a higher coverage package if you decide you want more coverage down the line.
Keep in mind that these are baseline timeframes and can vary depending on the shape of the vehicle you're protecting.
Why does your car's shape add time?
If you're going to have PPF installed on a simple sedan, you're generally looking at a pretty flat hood, a couple of gentle curves on the fenders, and relatively broad, shallow panels. Something like a Toyota Camry or a Honda Accord has plenty of surface area to cover. But it's not going to be hard to lay down the film with minimal adjustments.
On the other hand, a more complex shape can take hours longer to install, even for the same coverage package. A sports car with aggressive bumpers, vents, and wide fenders has a lot of unique details to navigate. A Porsche 911 has wide, compound-curved fenders that stick out like hips in the rear. A Chevrolet Corvette C8 has large side intakes and sculpted doors. A Lamborghini Huracán is all sharp angles, vents, and openings.
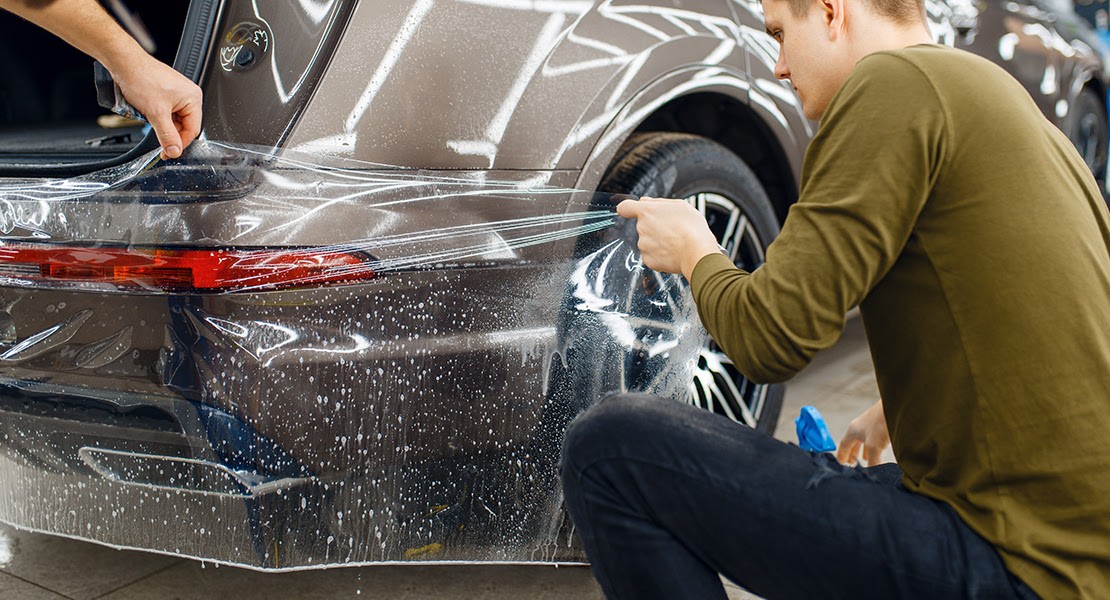
Trucks have sharp creases, flared fenders, and oversized grilles. A Ford F-150 Raptor has wide fender flares and vents in the hood. A Ram 1500 TRX has a tall, bulged hood and flared fenders.
Sharp body lines are also tricky, because the PPF needs to be held in place at tight angles. Luxury cars have deep, flowing curves over large panels. A Bentley Continental GT has deeply sculpted superformed aluminum fenders. A Mercedes-Benz S-Class has a long, curved hood and rounded bumpers.
Compound curves are also tricky. These are curves where the panel bends in two directions, rather than just one.
Why Stretching the Film Matters
PPF is made of a thermoplastic polyurethane material that's usually around 8 mil in thickness. If you stretch it, you thin it out, which reduces its effectiveness as an impact-resistant barrier. If you stretch it too much, you can even see visible stretch marks in the material.
PPF that is stretched also has tension built into it, which means that over time, the edges can pull up and loosen.
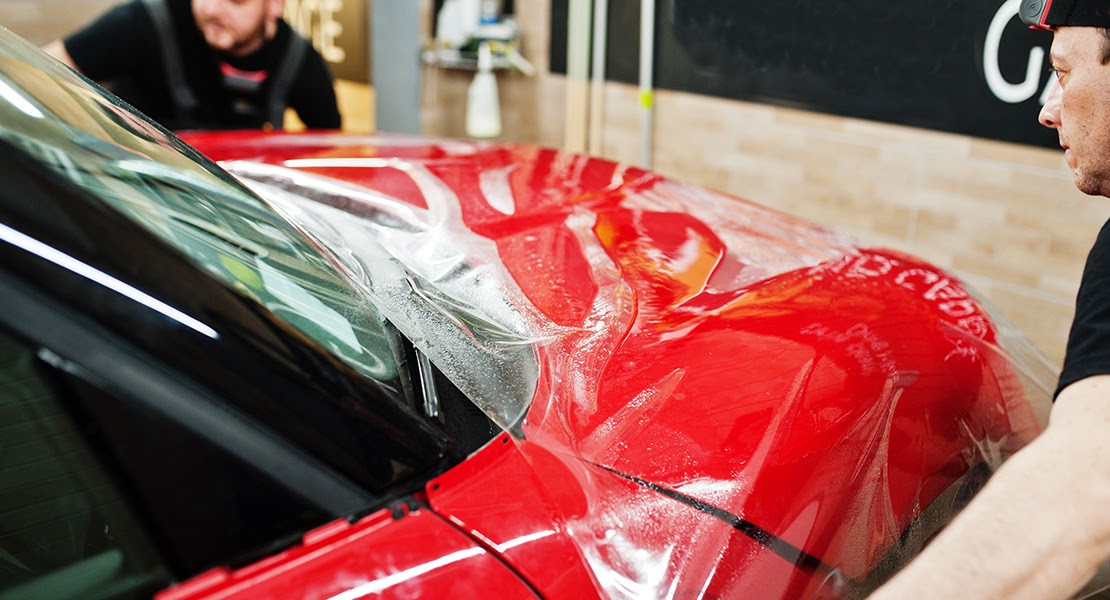
This is why it takes a long time to install PPF on complex curves. You need to slowly and carefully use a heat gun and slip solution to pull it into place. Often, extreme curves will need relief cuts or seams. Edges that wrap over a surface need to be tucked and post-heated to set them in place.
Even with a pre-cut kit made using software like XPEL DAP, this kind of work needs to be done by hand.
Comparing Quotes Across Different Vehicles
This is also why it's dangerous to compare quotes from different vehicles. A "full front" package on a Honda Civic is going to be a lot fewer hours of work than the same package on a 911.
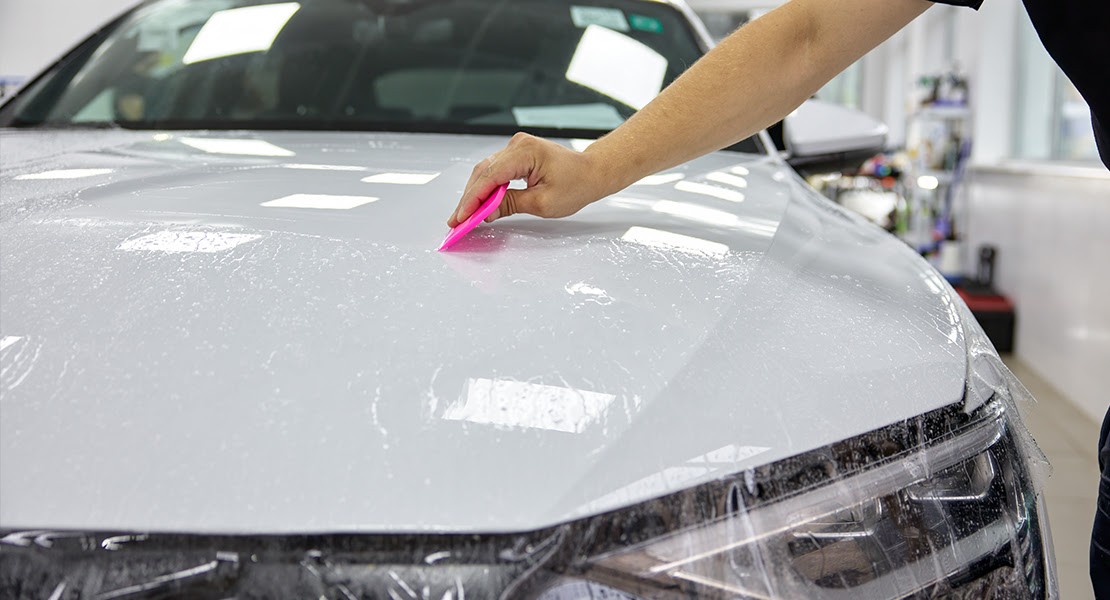
You need to make sure the shop you're working with is experienced with your exact kind of vehicle to get the best results.
Prep Work Done Before the Film Goes On
Before any paint protection film can be unrolled and applied, a lot of preparatory work must be done.
The first step is a good hand wash, often using the two-bucket method to minimize the amount of grit and grime that is dragged back across the paint. Wheel wells, door jambs, and the gaps between panels are also cleaned, because dirt can get stuck in these edges and migrate under the film over time.
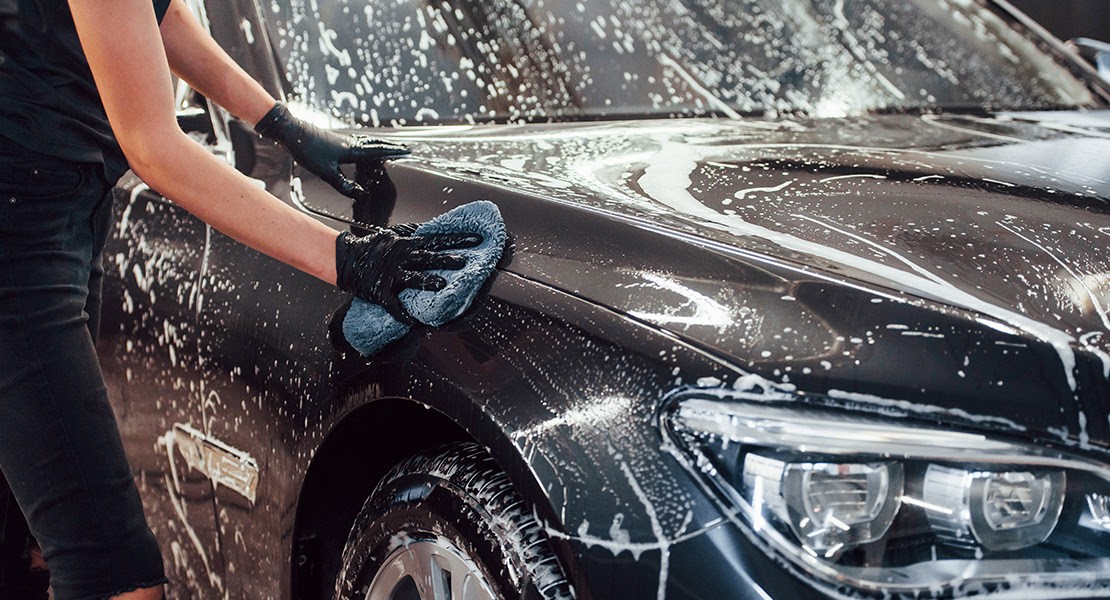
Chemical decontamination is also performed. This can include using an iron remover, which is a chemical that dissolves microscopic particles of metal that are embedded in the paint. These iron removers are often purple, because they react with the iron and turn that color. Tar and adhesive removers are also used to remove any tar spots from the road.
A clay bar is used to remove contaminants that bond to the paint and aren't removed in a wash. A clay bar can leave the paint feeling like glass when you run your hand across it.
Paint correction, which uses machine polishing to remove swirl marks and light scratches, may be performed as well. This can add anywhere from 2 to 4 hours to the process. A paint thickness gauge is often used to make sure the polishing isn't going to damage the paint, and if the paint has been severely neglected, multiple stages of paint correction may be necessary.
Finally, a panel wipe is often used, which can be an isopropyl alcohol solution. This removes any oils left over from polishing that would otherwise get in the way of proper adhesion.
Why All This Prep Is Necessary
Why all of this prep work? Well, since paint protection film is clear, it will show whatever is under it. If swirl marks are sealed under the film, they will still be visible. If specks of dust are trapped under the film, they will show up as small bumps. If contaminants are trapped under the film, they can even interfere with the adhesion of the film.
Any defects that are sealed under the film will need to have the film removed to be fixed.
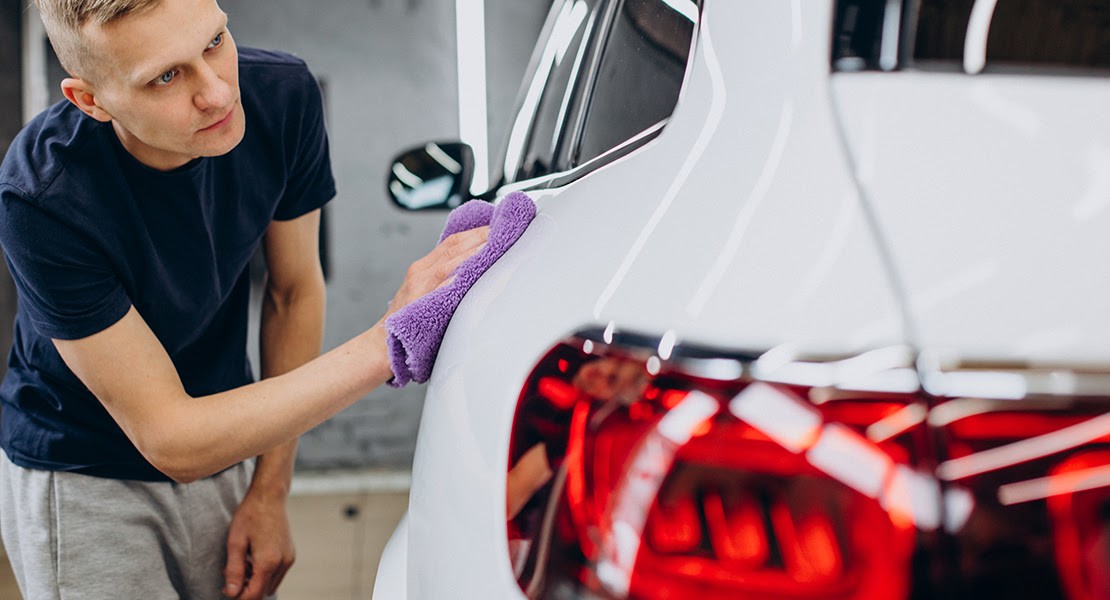
If you're concerned about any of these preparatory steps, remember that a good detailer will have the training to do it right. If you want to be sure, look for someone with certifications from the International Detailing Association. IDA is the trade association for detailers, and their Certified Detailer - Skills Validated certification requires hands-on testing to prove that the detailer has the necessary knowledge and skill to do the job right.
So, don't worry if the PPF installation process takes a few hours just for prep work. That's a sign that they're taking the job seriously and doing it right, rather than cutting corners or trying to pad their time. Just make sure you know what is and isn't included in their quote.
Should you choose pre-cut templates or hand-cut film?
Computer-cut templates are patterns for a specific vehicle, cut out of film using a plotter. Since they're cut to shape, they don't need to be trimmed down as much during the installation process, which means they take less time to install per panel. They also minimize the risk of cutting into the paint with a blade during installation, and make for a more consistent fit and less waste.
Hand-cutting the film is necessary for rare, older, or modified vehicles where no template is available, or for aftermarket body kits and custom bumpers. It's also necessary if you want the film wrapped around the edges of a panel so there's no visible line of film. The downside is, of course, that it takes longer and is more skill-dependent.
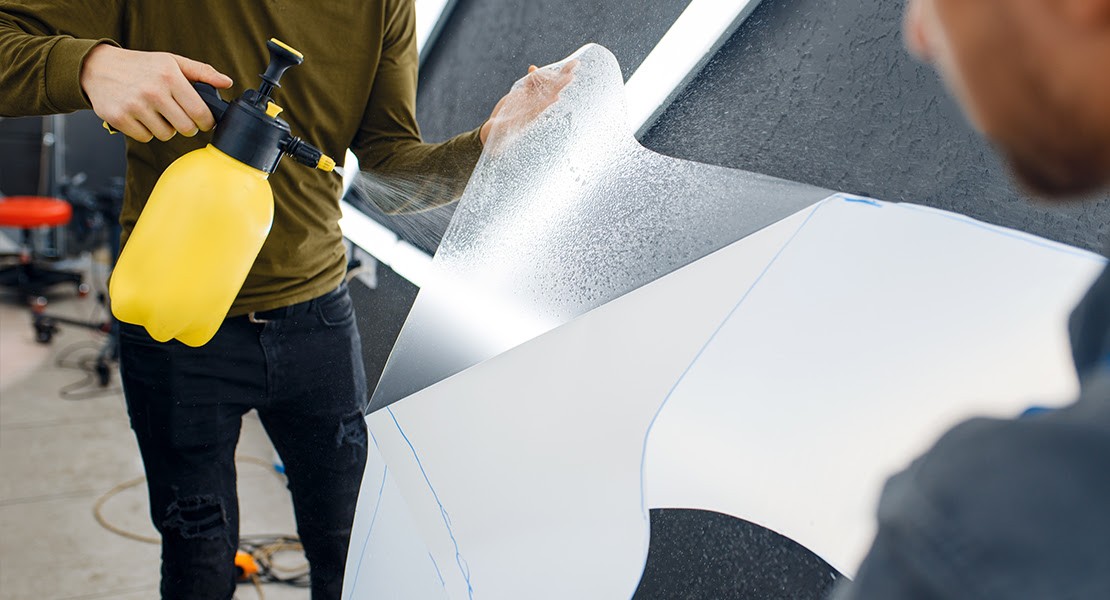
Knifeless tape is a special tool that allows installers to hand-trim film without needing to touch the paint with a blade. Additionally, some installers may be able to extend templates to provide wrapped edges.
Do you prefer the speed of templates, or the fully-custom fit of hand-cutting?
The Days After You Drive Away
Another thing to keep in mind is that curing is different from installation. You may be able to drive your car off the lot the same day. But the adhesive is still bonding.
Most installers will recommend not washing the car for 48-72 hours after installation. This is because the PPF is installed using a slip solution (water and a light soap like baby shampoo) and a tack solution (water and isopropyl alcohol), and any moisture that is left under the film will need to slowly evaporate through the film over a few days.
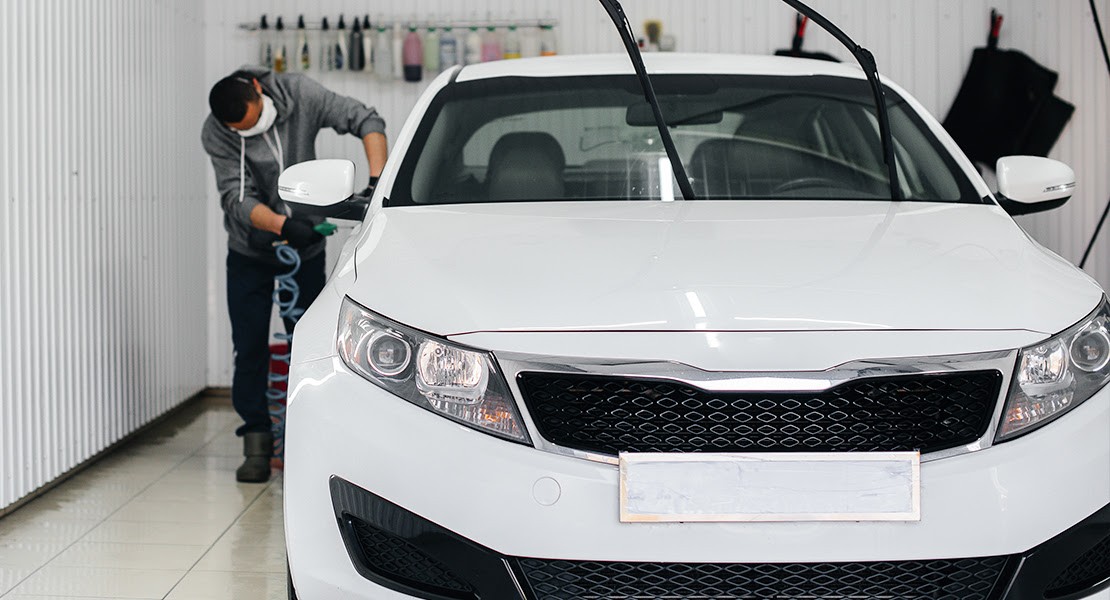
It's also important to let the edges and wrapped corners settle, and there may be a light haze or cloudiness to the film for the first few days. Small pockets of water or "blisters" are also common and usually clear up on their own within a few days to a couple of weeks.
Warmth and exposure to the sun can help evaporate moisture more quickly. Avoid picking at, pushing on, or lifting the edges of the film with your fingernails, and avoid pressure washing the car until the edges have settled. After that, just make sure not to get too close to the edges of the film with the pressure washer nozzle.
How Weather Affects Curing
Colder temperatures can slow the bonding process for the adhesive and can slow evaporation as well. High humidity can also make it take longer for moisture to escape, and haze to clear. Parking in a garage can help with this in cold or wet weather.
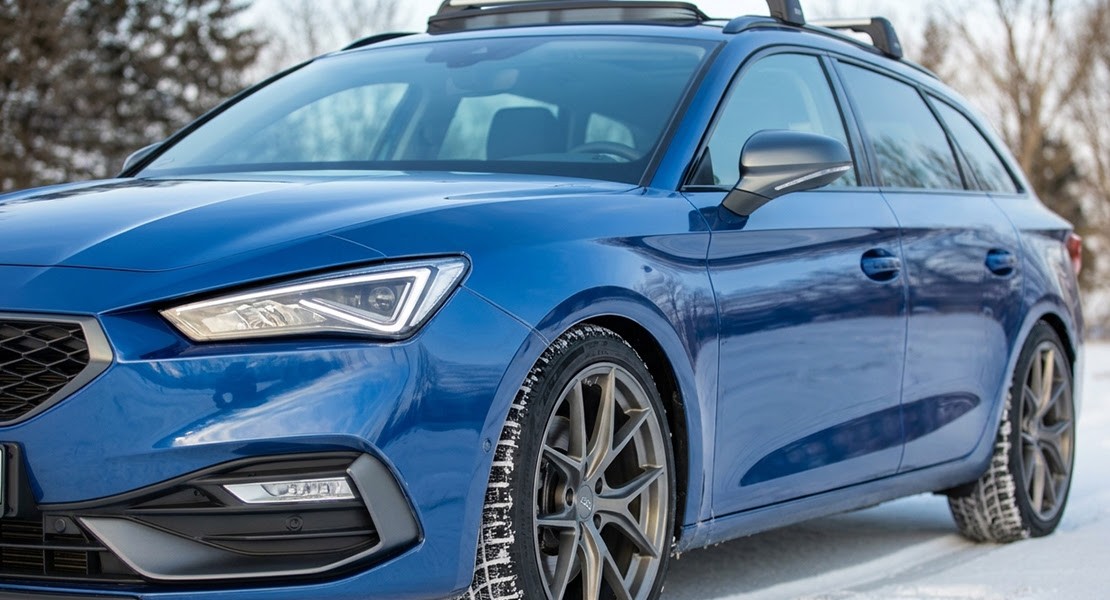
If you have bubbles or lifting after around two weeks, reach out to your installer. They may be able to help you resolve the issue.
Of course, always follow the specific instructions from your installer, as the specifics can vary depending on the brand of film and other details.
Transform Your View with Professional Installation
If you're planning to get your car PPF-wrapped, a good place to start is to calculate how many days it's likely to take for the coverage you want, with a little leeway for a complex body shape and paint correction. Add the curing window to that, and you have a good idea of how long you'll be waiting after you drop your car off.
You can then pencil those days into your calendar and plan ahead, so you can book your PPF installation with peace of mind.
It sucks to be without your brand-new car. But it's worth the wait for years of pristine, chip-free paint. Conversely, a rushed job is more likely to leave you with lifted edges and stretch marks.
Do you have any specific questions about your PPF installation? What's the exact number of hours or days it will take for your specific car? Are we using a pre-cut kit or hand-cutting the PPF, and why? Do we include an overnight inspection for edges in our timeline? What brand of PPF do we use, what's the warranty, and what are the aftercare instructions?
We'd love to answer all of your questions and provide you with a written estimate of the timeline for your installation before you drop off your car.
When you visit OC Tint Shop, we'll work with you to develop a realistic timeline for your installation and cure time, tailored to your exact vehicle. Stop in today for a free consultation, and see what we can do for you. Whether you're looking for PPF, ceramic coatings, window tint, or something else entirely, we're here to help. Check out our gallery to see our work.